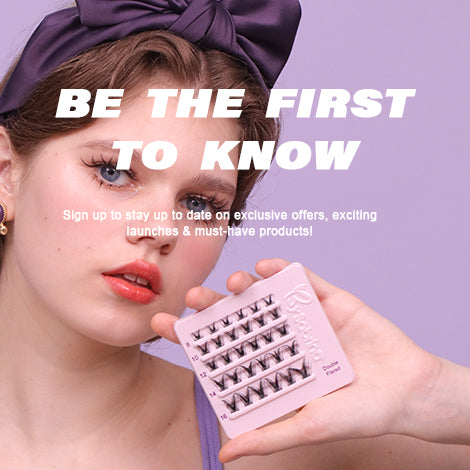
5 Steps to Apply Individual Lashes Professionally at Home
Achieving salon-quality eyelash extensions without stepping foot outside your door is no longer an industry secret; it is a meticulously crafted skill available to the modern woman. If you want to elevate your beauty routine, learning how to apply individual lashes professionally is a transformative experience. We know your time is precious, which is why mastering this technique offers both dramatic results and everyday convenience.

To successfully apply individual lashes professionally requires more than just a steady hand; it demands an understanding of lash architecture, the right tools, and premium materials. At our core, we are designers. We treat every lash as a piece of subtle architecture, ensuring comfort, durability, and a flawless look. This commitment to meticulous design spans our entire collection. In this comprehensive guide, we will walk you through the precise steps to apply individual lashes professionally, ensuring longevity and comfort.
Table of Contents
Summary Table: Professional Application Overview
Before diving into the detailed methodology, review this quick reference guide to understand the essential phases required to apply individual lashes professionally.
| Phase | Objective | Key Tools & Techniques | Estimated Time |
|---|---|---|---|
| 1. Preparation | Ensure a clean, oil-free surface for maximum adhesive retention. | Oil-free cleanser, lash primer, clean spoolie brush. | 5 Minutes |
| 2. Selection | Choose the correct density and length for your eye shape. | BY SABRINA Individual Lash Kits. | 2 Minutes |
| 3. Application | Apply individual lashes professionally with precision placement. | Curved precision tweezers, professional lash bond. | 10-15 Minutes |
| 4. Sealing | Lock the lashes in place to eliminate stickiness and increase wear time. | Lash sealant, pinching technique. | 3 Minutes |
Understanding Lash Architecture
To truly apply individual lashes professionally, you must first understand what you are working with. For effortless daily glamour, our curated lash kit offerings are central to providing modern women with fast, flawless application right at home. We focus on innovations like our simple press on lashes and easy-to-customize cluster lashes to deliver dramatic results without the fuss.
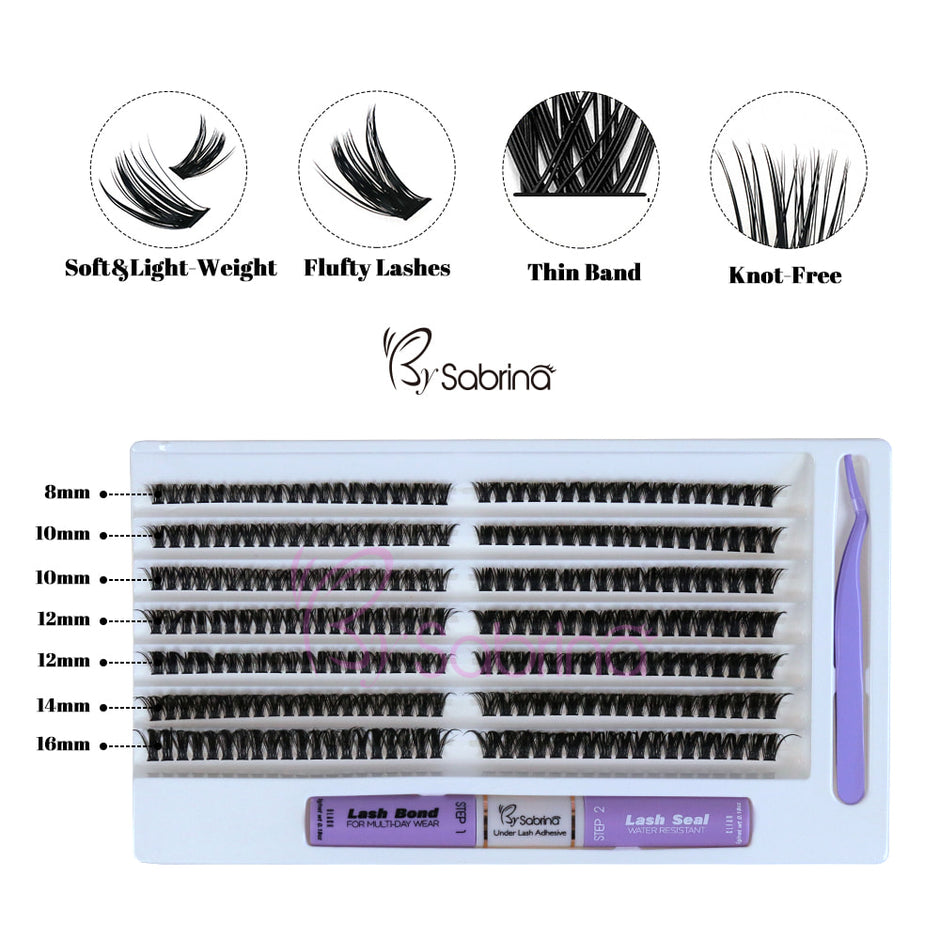
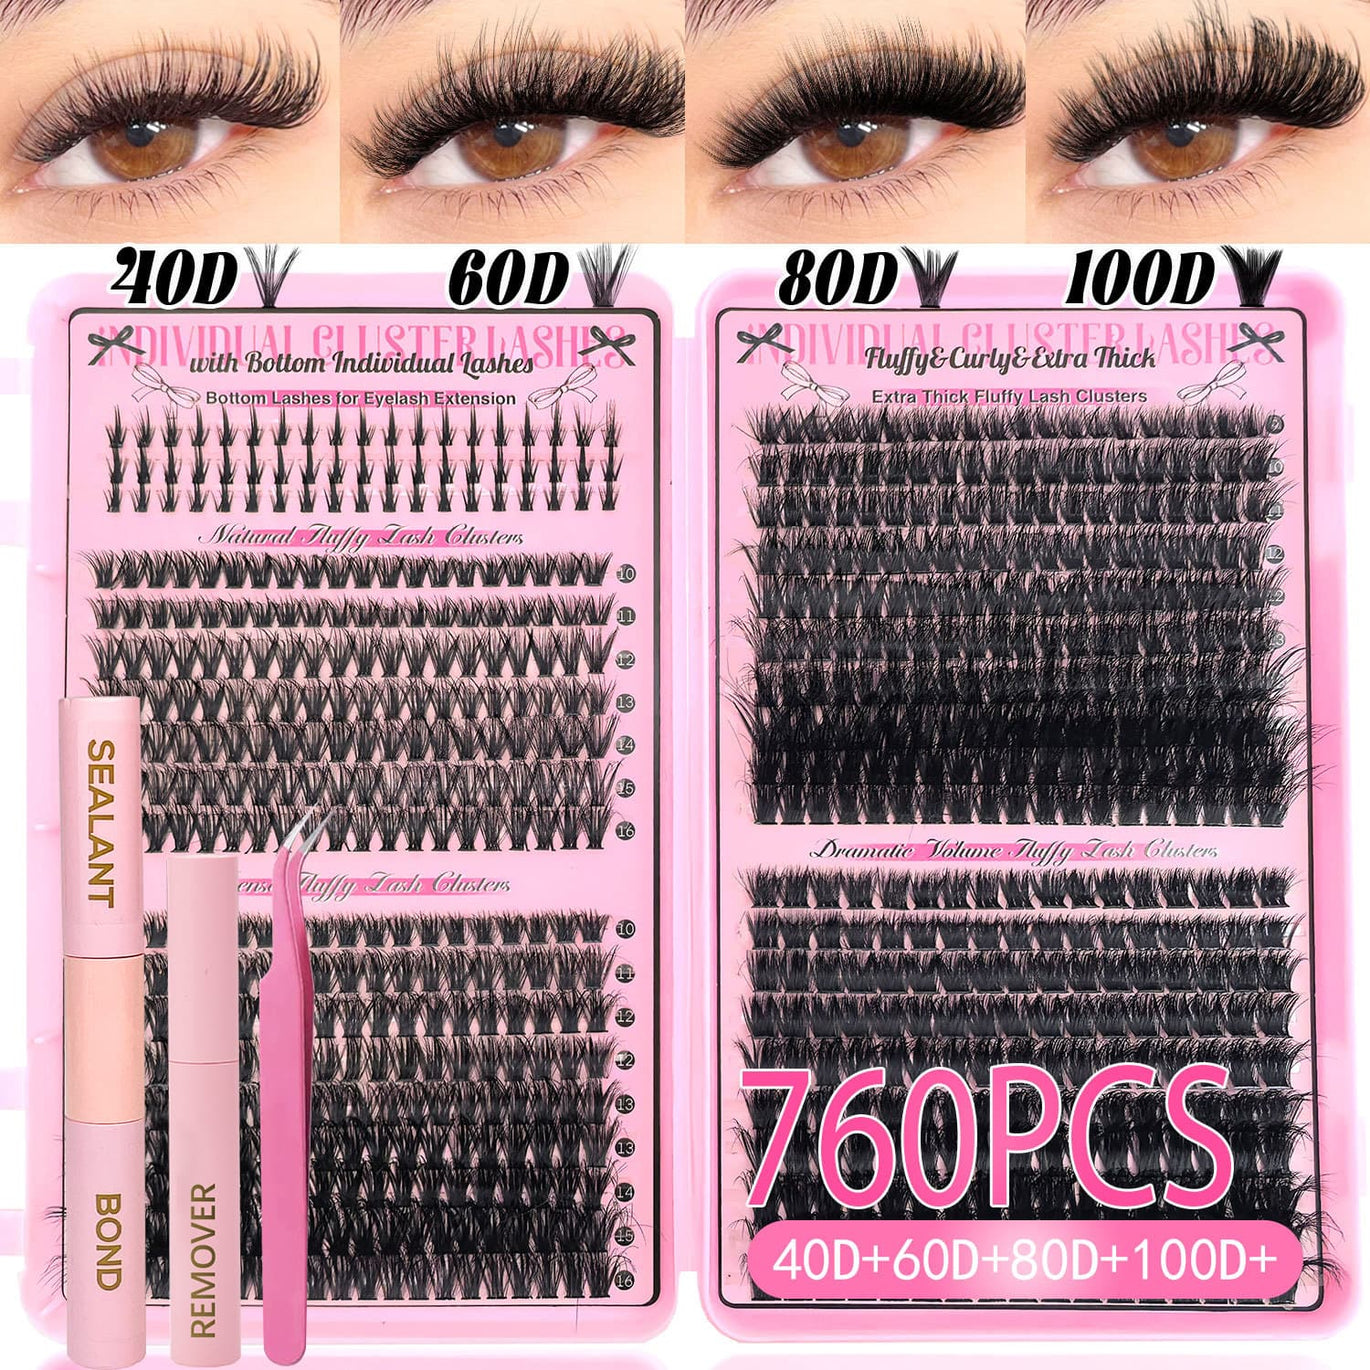
When selecting your product, density plays a critical role. For a soft, natural enhancement, our 30D&40D Individual Lash Kit with 280pcs provides a delicate lift. If you desire a more voluminous, mascara-like finish, transitioning to the 60D&80D Individual Lash Kit with 280pcs offers a beautiful middle ground. Finally, for those who crave the bold, high-drama aesthetic reminiscent of Russian volume extensions, the 100D&120D Individual Lash Kit with 280pcs is unparalleled in delivering dense, luxurious texture.
Phase 1: Preparation and Sanitation
The secret to long-lasting wear is not just the adhesive; it is the canvas. To apply individual lashes professionally, your natural lashes must be entirely devoid of oils, makeup residue, and skincare products. From our experience, skipping this step guarantees premature shedding.
Begin by cleansing your eye area with an oil-free micellar water or a dedicated lash shampoo. Allow the natural lashes to air dry completely. We recommend using a clean spoolie to brush through your natural lashes, separating them and ensuring they point straight. This meticulous preparation is what separates amateur applications from those who apply individual lashes professionally.
Phase 2: Steps to Apply Individual Lashes Professionally
Step 1: Strategizing Your Map

Before picking up a pair of tweezers, visualize your desired outcome. Do you want a cat-eye look, which elongates the eye, or a doll-eye look, which opens up the center? Lay out your chosen clusters on a clean palette. Having your lengths organized prevents scrambling mid-application.
Step 2: Adhesive Application
To apply individual lashes professionally, the bond application must be light but strategic. Using a professional micro-mascara wand bond, apply a thin layer exclusively to the base (the root) of your natural lashes. Do not brush the adhesive all the way up to the tips; this causes clumping and an unnatural finish. Wait 15 to 20 seconds for the adhesive to become tacky. This brief waiting period is a critical technique used by experts to apply individual lashes professionally, ensuring the cluster adheres instantly without slipping.
Step 3: Precision Placement
Using a curved precision tweezer, gently grip the individual cluster near its tip. To apply individual lashes professionally, the golden rule is under-placement. Lift your eyelid slightly with your non-dominant hand to expose the waterline. Place the cluster underneath your natural lashes, about 1 to 2 millimeters away from the actual waterline (the skin). The cluster should attach to the root of your natural lash, not the skin of your eyelid. This ensures comfort, prevents irritation, and mimics the natural growth pattern of real hair.
Step 4: The Overlap Technique
As you move from the outer corner to the inner corner, ensure the bases of the clusters sit snugly next to one another. For a seamless look, we recommend a microscopic overlap of the bases. This technique, utilized by those who apply individual lashes professionally, prevents visible gaps when you blink or look down.
Step 5: Securing and Sealing
Once all upper clusters are placed, it is time to secure the architecture. Using your tweezers, gently clamp your natural lashes and the extensions together. Finally, apply a professional lash sealant to the base where the bond was applied. This neutralizes the sticky residue of the adhesive and cures the bond, locking out moisture and oils.
Phase 3: Advanced Lash Mapping and Customization
One of the true joys of learning to apply individual lashes professionally at home is the ability to customize. The architecture of the eye can be completely transformed with careful mapping.
For a stunning, comprehensive finish, do not neglect the lower lash line. Lower lashes add an ethereal, balanced symmetry to the eye. We highly recommend utilizing our 740 False Eyelashes with Lower Lashes. Applying lower lashes requires an even lighter touch and a micro-amount of adhesive. When you apply individual lashes professionally to the lower lash line, keep them sparse; placing a subtle cluster every few millimeters creates a wide-eyed, sophisticated look without appearing heavy.
Furthermore, mix your densities. You might use the softer 30D&40D Individual Lash Kit with 280pcs toward the inner corners of the eye where natural lashes are finer, and seamlessly transition into the denser 60D&80D Individual Lash Kit with 280pcs toward the mid-eye and outer corners. This graduating density is a hallmark of someone who knows how to apply individual lashes professionally.
Phase 4: Retention and Aftercare
Once you apply individual lashes professionally, maintaining them dictates their lifespan. With proper care, a high-quality cluster application can last up to a week.
From our experience, water exposure within the first 24 hours is the primary cause of poor retention. Keep your new lashes dry to allow the sealant to fully cure. When washing your face, navigate around the eye area carefully. Switch entirely to oil-free skincare and makeup removers, as oil degrades the adhesive bond rapidly. Finally, avoid sleeping face-down on your pillow; friction is the enemy of lash architecture.
Frequently Asked Questions
For a beginner, the process may take 15 to 20 minutes per eye. However, as you become accustomed to handling the tweezers and understanding your eye shape, you can apply individual lashes professionally in under 10 minutes for both eyes.
If you apply individual lashes professionally following our guidelines—specifically, keeping the adhesive 1mm away from the skin and never pulling them off aggressively—your natural lashes will remain healthy. Always use a dedicated oil-based remover to dissolve the bond when you are ready to take them off.
We recommend starting with the 30D&40D Individual Lash Kit with 280pcs. The lighter density is more forgiving as you practice placement, and it offers a beautiful, everyday aesthetic that transitions effortlessly from day to night.
Yes. Because the technique to apply individual lashes professionally involves attaching the cluster to the natural lash rather than the skin or waterline, there is no interference with contact lenses. However, ensure no adhesive enters the eye during application.
References
To ensure our readers receive the safest and most accurate information, we consult established dermatological and cosmetic safety guidelines.
Sample Image Gallery